06 Sep How to make an attractive portfolio for a permanent makeup master
The portfolio is extremely important for permanent makeup artist. Having looked at the master’s works, the client decides whether to be a procedure or not to be. And these are not empty words. Recently, we’ve conducted an open survey to figure out which factor most affects the choice of a the client. In the photo below you can see the result – customers have become more legible, they no longer want to be “cheaper”, but crave “beautiful”, “natural” and “high-quality” work! And this is pleasing, as it will obviously lead to a decrease in the number of unnatural and unsuccessful permanent makeup.
Therefore, the portfolio of any master should increase customer confidence as much as possible. We will discuss today how to achieve this.
Technical details
Portfolio starts with a photo! The novice master, having done his first job, may be trying to take a photo on an old phone for half an hour. But it is either dark, or blurry, or the angle is far from ideal… Before the work, you should learn how to photograph the eyebrows, eyes and lips. You can take an affordable gadget and train with a girlfriend. The ideal distance from the camera to the face in most of the cases is about 30-40 cm (10-15 inches). Your task is to “play around” with angles and get used to the ideal distance. Of course, it’s great if you have a professional DSLR camera with a macro lens at your fingertips from the first days of practice and you know how to use it perfectly. On the other hand, permanent makeup master always has a phone at hand. But without practice, usually she is not able to take more or less appropriate macro photos even from the 10th time. But don’t give up! And if your phone just can’t make good shots at all – buy a camera, rent or borrow one. After all, saving on quality photos, you automatically lose many customers!
As practice shows, it is very difficult to make a high-quality photo even with a vaunted iPhone. In my practice last Samsung models do the job better. Good camera works ideally, however, set up maximum resolution on your phone and try it! Use autofocus – touch the phone screen, wait for the signal (the phone stabilizes the image), and only then take pictures. Press the “shutter” button on the side panel of the phone, tapping on the screen moves the device and blurs image. Be patient, take a few frames so that there is plenty to choose from, try different modes and locations. And make a photo often, each time you made a great work.
Lighting is everything!
The lion’s share of the success of the photo event is natural lighting. It is because of its complete (the procedure takes place in the evening) or partial (cabinet has not enough windows, its a cloudy day) lack, the photos become low-quality. Therefore, our task is to create the maximum possible lighting in the office:
- buy an LED lamp (they do not give a flickering effect) of maximum power and install in the office. Do not choose lamps with yellow or cold white lighting, they distort the color rendition. Choose a powerful, but neutral range;
- remove curtains or blinds as much as possible to take a photo;
- during the session, lighting should fall on the client’s face, but not on the camera’s lens!
- if you don’t have professional equipment at hand, you can even use a white coat on a trempel. Hold it in your hands on the side or below the client’s chin as a light screen.
We live in the 21st century and technology does not stand still. Portable flash units have long been invented and can help you a lot. These LED rings come in different sizes. And although photographers use the circles with a diameter of about 40-60 cm, in our work, a portable ring on the phone is often enough. You can easily fine one here on Amazon
This is how looks like the same on the photo, made by telephone alone and with an additional flash circle. Feel the difference.

Modern social networks users are spoiled by beautiful photos and crave not just high-quality performance of work, but also a “delicious presentation”. Nevertheless, always try to keep natural colors in the area of the work! It is very important! If the flash changes the color of the client’s eyes – it doesn’t matter. But you need to make sure that the colors of your work and the realism of the photo are kept to the maximum!
Useful tips
- It is always more pleasant to look at the permanent makeup on attractive faces. If you post a photo of the entire face, remember this. If something on the resulting photo can push away the customer (I do not mean the nuances of the work), it is better to crop the photo and put a close-up of the tattoo area.
- The portfolio should also include examples of the makeup right after the procedure AND the same work after healing. So that the client can easily imagine how he will look after the procedure and few weeks later. Sign each one.
- To take a photo of the healed work before the correction, you need have client’s request for it. I recommend that you make the correction, at least for the first time, for free, or a symbolic price. This significantly stimulates the appearance of customers and guarantees enough photos for your portfolio.
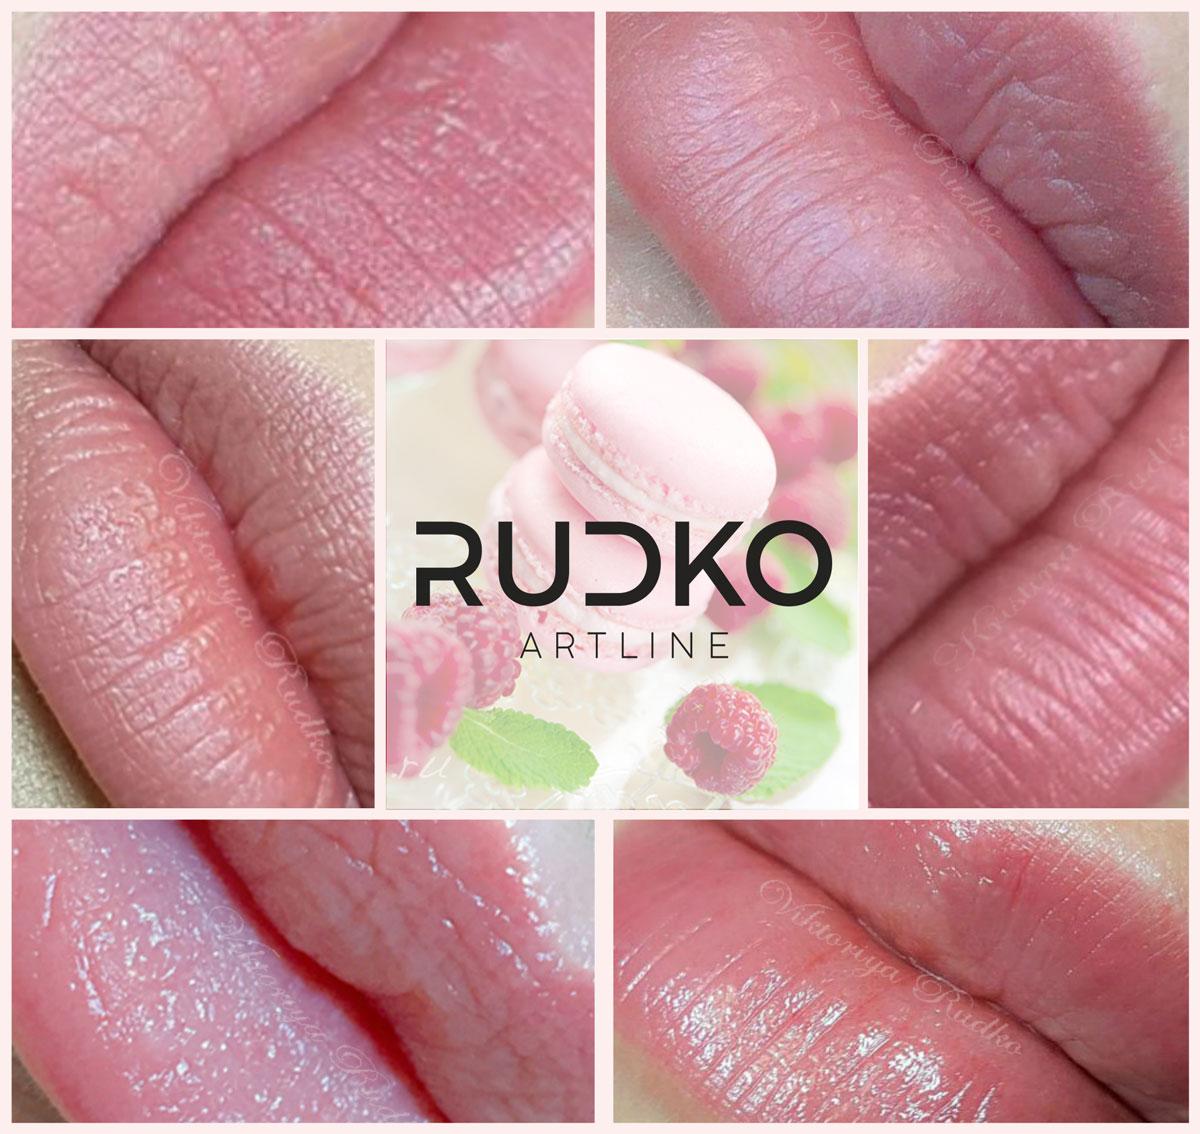
- Create collages with your brand, name and phone number on them. The portfolio on your personal website should look as attractive as possible, but on the social network you should post informative materials. Potential customers like to see an example close to their case and they would rather like to sign up for a procedure.
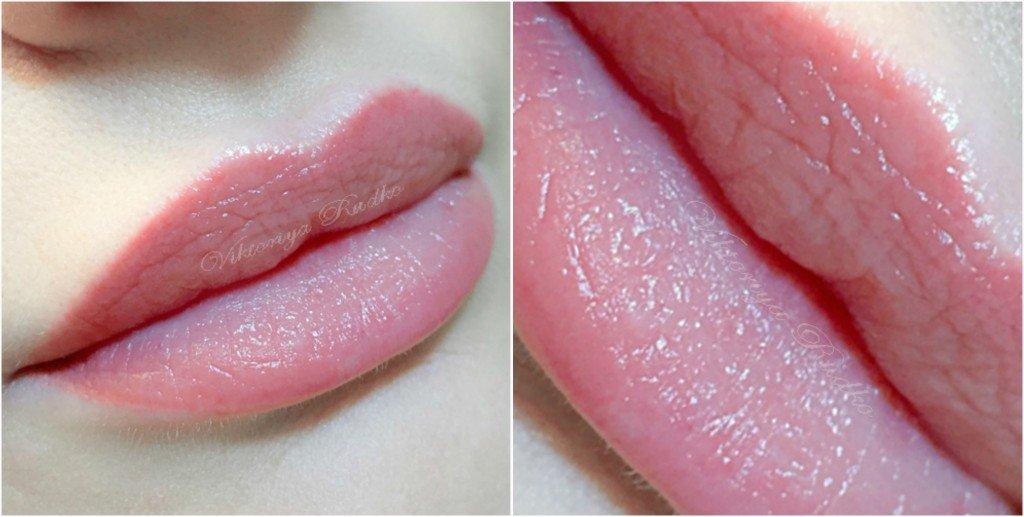
- Make examples of your work as a macro photos. If you are a master with experience and you want to demonstrate your skills, do not deny yourself the pleasure! High-quality shades look very attractive on macro!

Your portfolio should be dynamic. Indeed, the master’s qualification is growing every day and there is no point in keeping your very first works in the gallery. The client should see the master’s skills at the moment, and not his entire creative path, this is important! Therefore, regularly “clean” the portfolio, and try to look at it a little critically. And the same time, enjoy your achievements.
Speaking about the portfolio, I want to rephrase the old student saying: first you work on the portfolio, and then the portfolio works for you! Therefore, do not spare the investments in equipment and time for working out your photographer’s skills. Be sure to put watermarks on your work – this way you will insure the fruits of your creativity from theft.
I would be grateful if in the reviews you’ll share your secrets of a presentable portfolio!
Viktoriya Rudko, international permanent makeup trainer, a leading specialist at the Purebeau Academy in Ukraine


No Comments